
Connector clearance
The channel must accept the cable and any connector that has to pass through it. An adapter brick usually belongs outside the channel in a ventilated, serviceable position.
Installation guide
A clean cable route starts with the plug, adapter, channel capacity, corners, wall finish, and a plan for future removal.
Quick answer
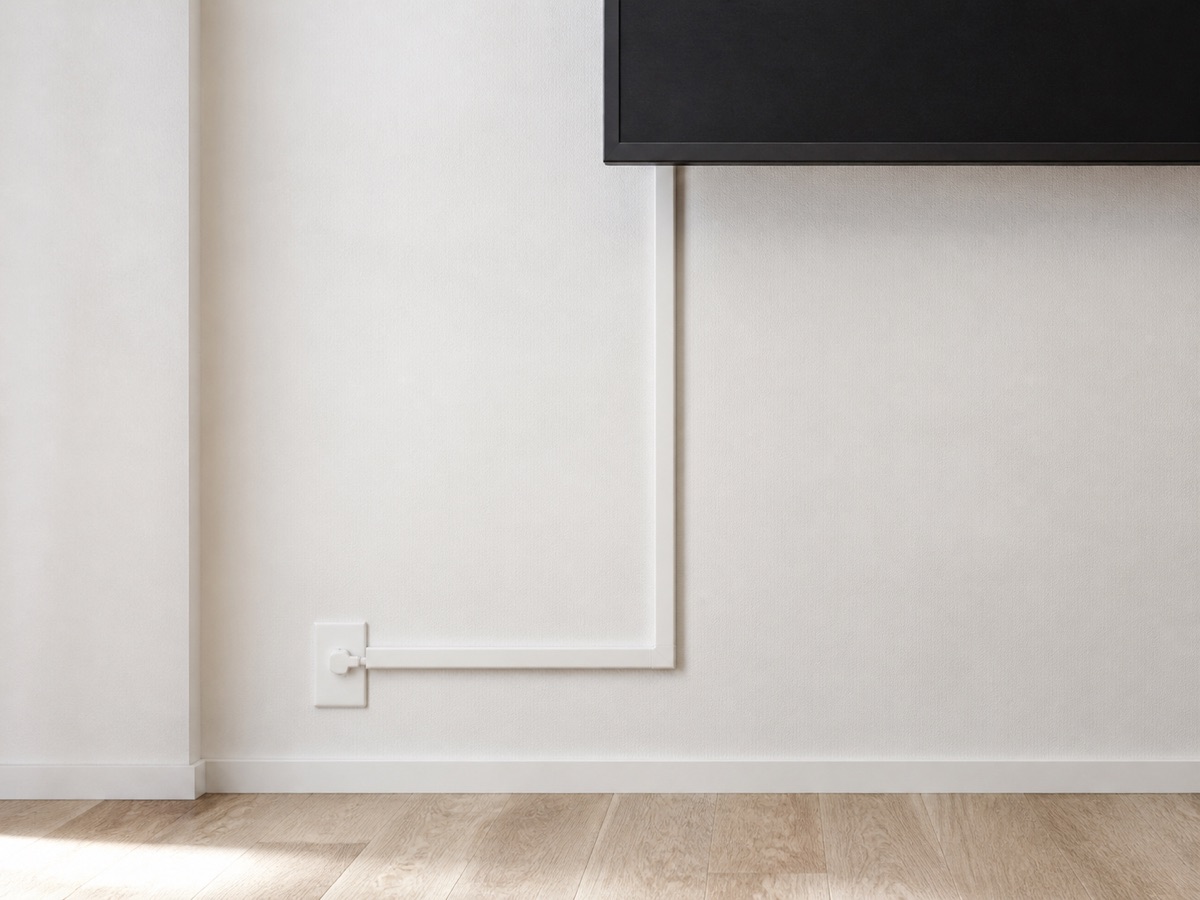
Use a surface raceway only after measuring the thickest connector and deciding where the power adapter will remain accessible. Keep the cable free from sharp bends and damage, and do not treat a decorative cord cover as permission to run ordinary flexible power cord inside a wall.
Decision framework
The channel must accept the cable and any connector that has to pass through it. An adapter brick usually belongs outside the channel in a ventilated, serviceable position.
Measure vertical and horizontal runs, corners, outlet position, and a small service loop before choosing total channel length.
Adhesive can behave differently on flat paint, texture, wallpaper, tile, and rental walls. Plan removal before committing to the route.
A surface cover organizes an approved cable; it does not convert that cable into permanent in-wall wiring or replace professional electrical work.
Installation sequence
The order is intentional: the accessory should follow the device, room, and power plan.
Choose the final display height and a ventilated location for the original adapter.
Include corners, connectors, outlet approach, and enough slack to remove the display for service.
Dry-fit the exact cable and connector before attaching the raceway to the wall.
Follow the raceway maker instructions for cleaning, adhesive, screws, curing time, and removal.
Confirm that no cable is pinched, sharply bent, warm, damaged, or carrying more load than specified.
Tracked products
These are candidates, not universal recommendations. Open the fit profile where available and verify the live listing before checkout.
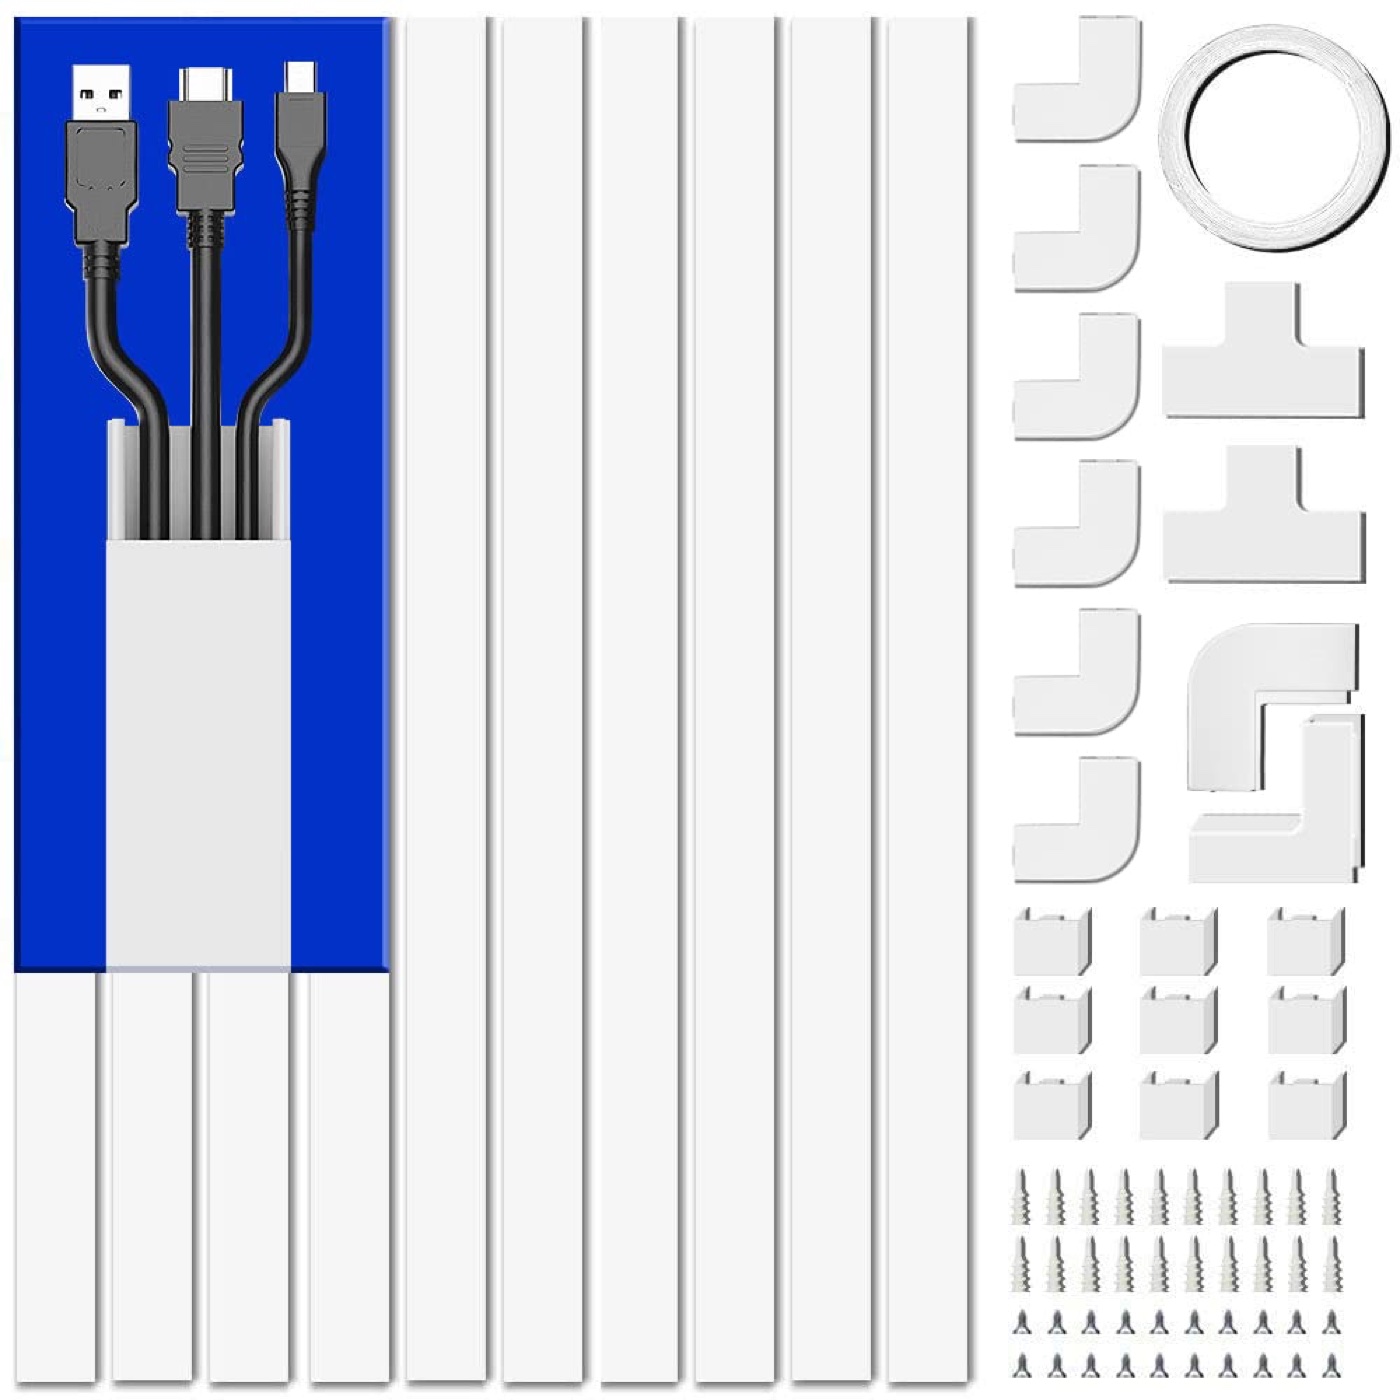 Official product source + Amazon ASIN checked
 Delamu
Paintable surface raceway for tidier wall-mounted display power-cable routing.
ASIN B07GPFDL1K · source checked 2026-08-10
Stop signs
Related research
Sources
Common questions
Do not assume so. Ordinary flexible power cords and surface raceways are not automatically approved for concealed in-wall installation. Follow the device instructions and local electrical requirements.
Measure the thickest cable and connector that must pass through it. Manufacturer cable-count estimates are only examples and may not match a smart calendar adapter cable.
Some PVC raceways are sold as paintable, but surface preparation and paint compatibility should follow the raceway maker instructions.
Keep it ventilated, accessible, and supported so its weight does not pull on the display connector. Do not seal it inside a narrow raceway.