
Device interface
First identify whether the display uses an enclosure, two independent brackets, a proprietary rear plate, or VESA holes. These mounting paths are not interchangeable.
Installation guide
A wall mount only works when the device dimensions, mounting interface, weight, ports, wall structure, and daily touch behavior all agree.
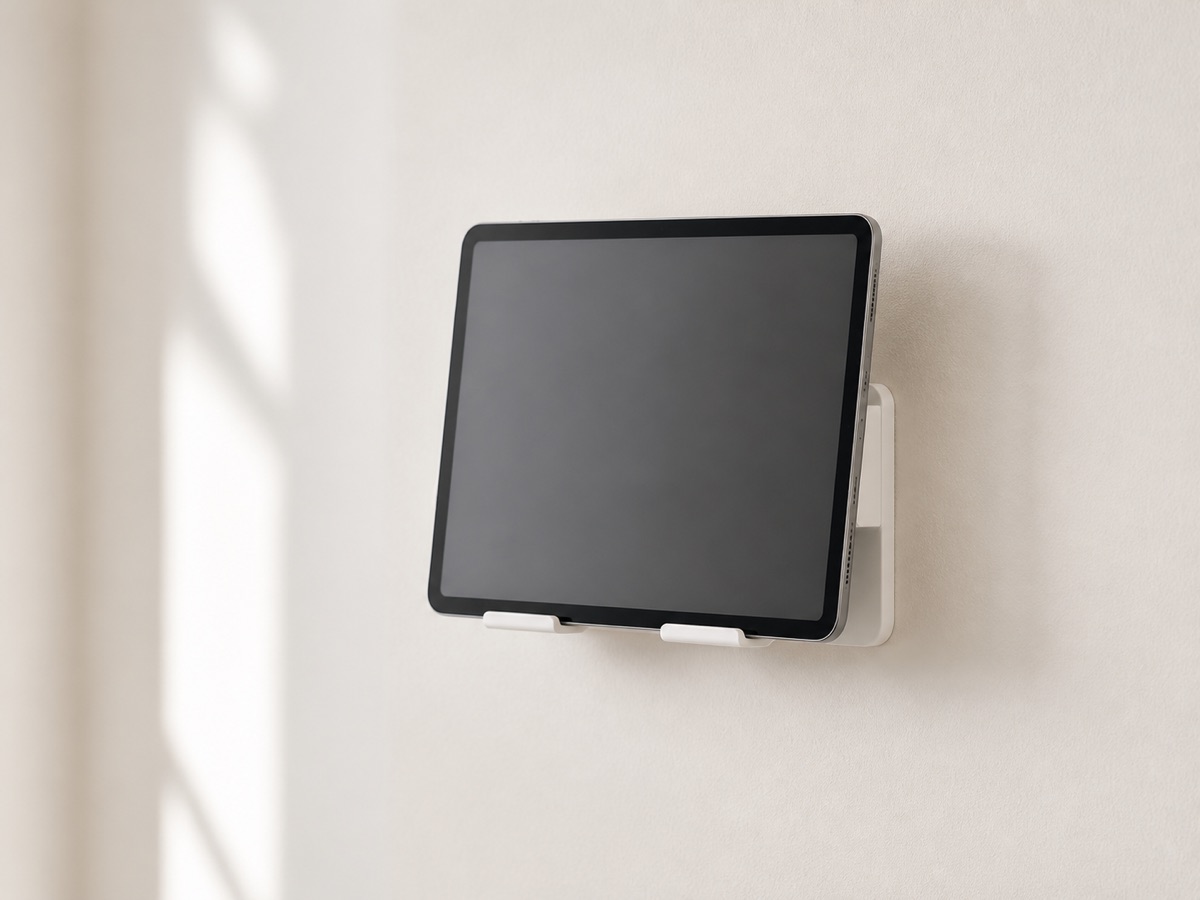
Quick answer
Do not buy a mount from screen size alone. Tablet brackets need the exact device width, height, and thickness; monitor arms need the exact VESA pattern and weight; every installation still needs a wall fixing and cable route that suit the room.
Decision framework
First identify whether the display uses an enclosure, two independent brackets, a proprietary rear plate, or VESA holes. These mounting paths are not interchangeable.
Compare the bare device and any permanent case against the mount opening, grip depth, thickness limit, and port clearance. A diagonal screen size cannot answer those questions.
Match the supplied or specified hardware to drywall, a wood stud, brick, or concrete. Device weight must stay below the mount limit, with room for repeated touch pressure.
Confirm that the power connector can remain attached without a tight bend. Decide whether the display should stay flush, rotate, tilt, or extend before choosing an arm.
Installation sequence
The order is intentional: the accessory should follow the device, room, and power plan.
Measure width, height, thickness, weight, port position, and any rear mounting holes.
Use a tablet enclosure or bracket for a compatible tablet; use a VESA mount only when the display explicitly exposes a matching pattern.
Locate the intended fixing surface and check the mount instructions for the hardware and tools that surface requires.
Test viewing distance, glare, reach, and touch height with a paper template before drilling.
Keep the adapter ventilated and serviceable, protect the cable from pinching, and avoid treating a surface raceway as in-wall wiring.
Tracked products
These are candidates, not universal recommendations. Open the fit profile where available and verify the live listing before checkout.
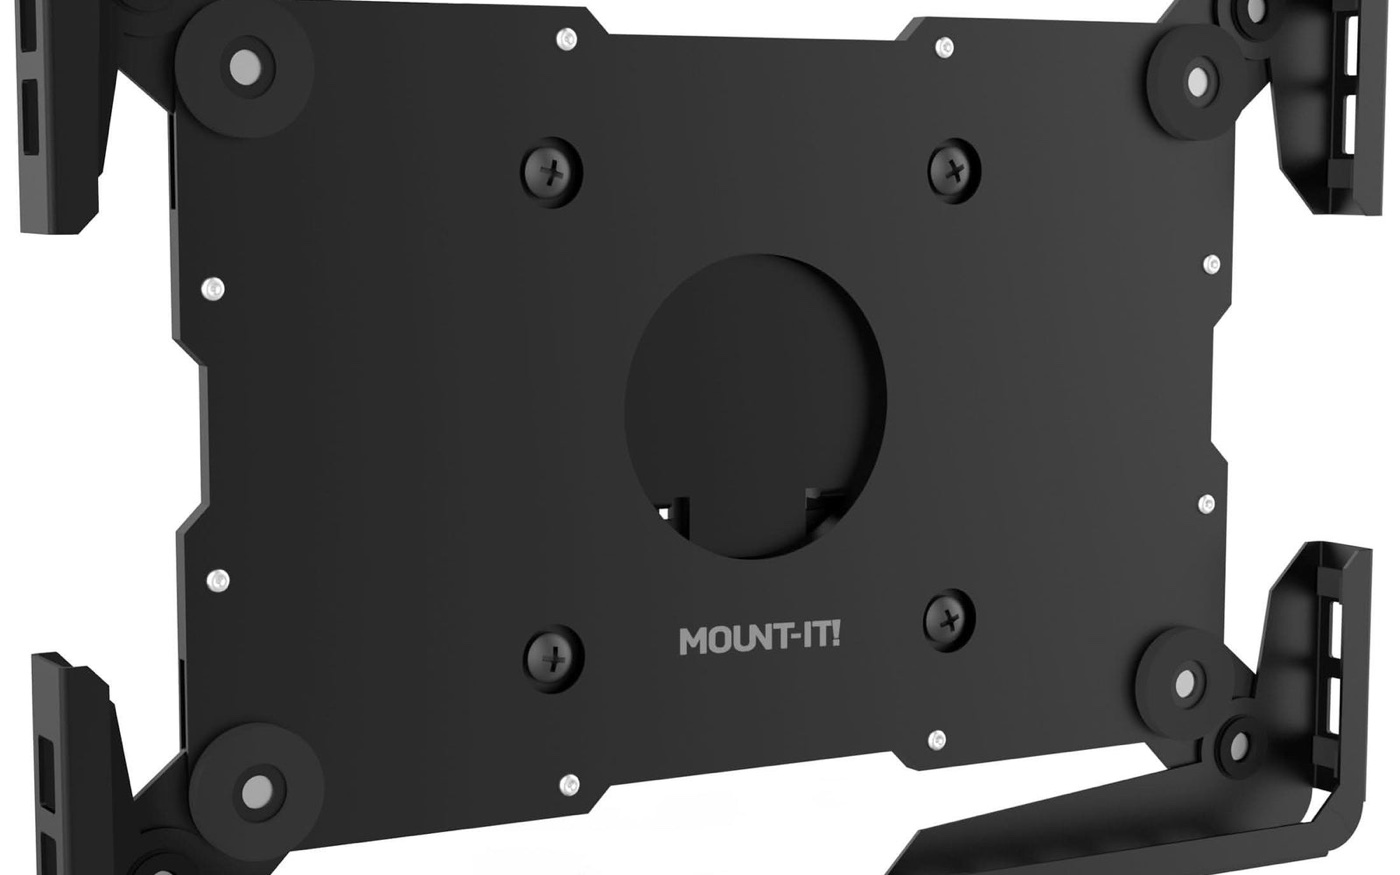 Official product specifications and installation resources checked
 Mount-It!
Secure enclosure option for compatible tablet-based family dashboards and smaller calendar displays.
ASIN B0CXS7YFWQ · source checked 2026-08-10
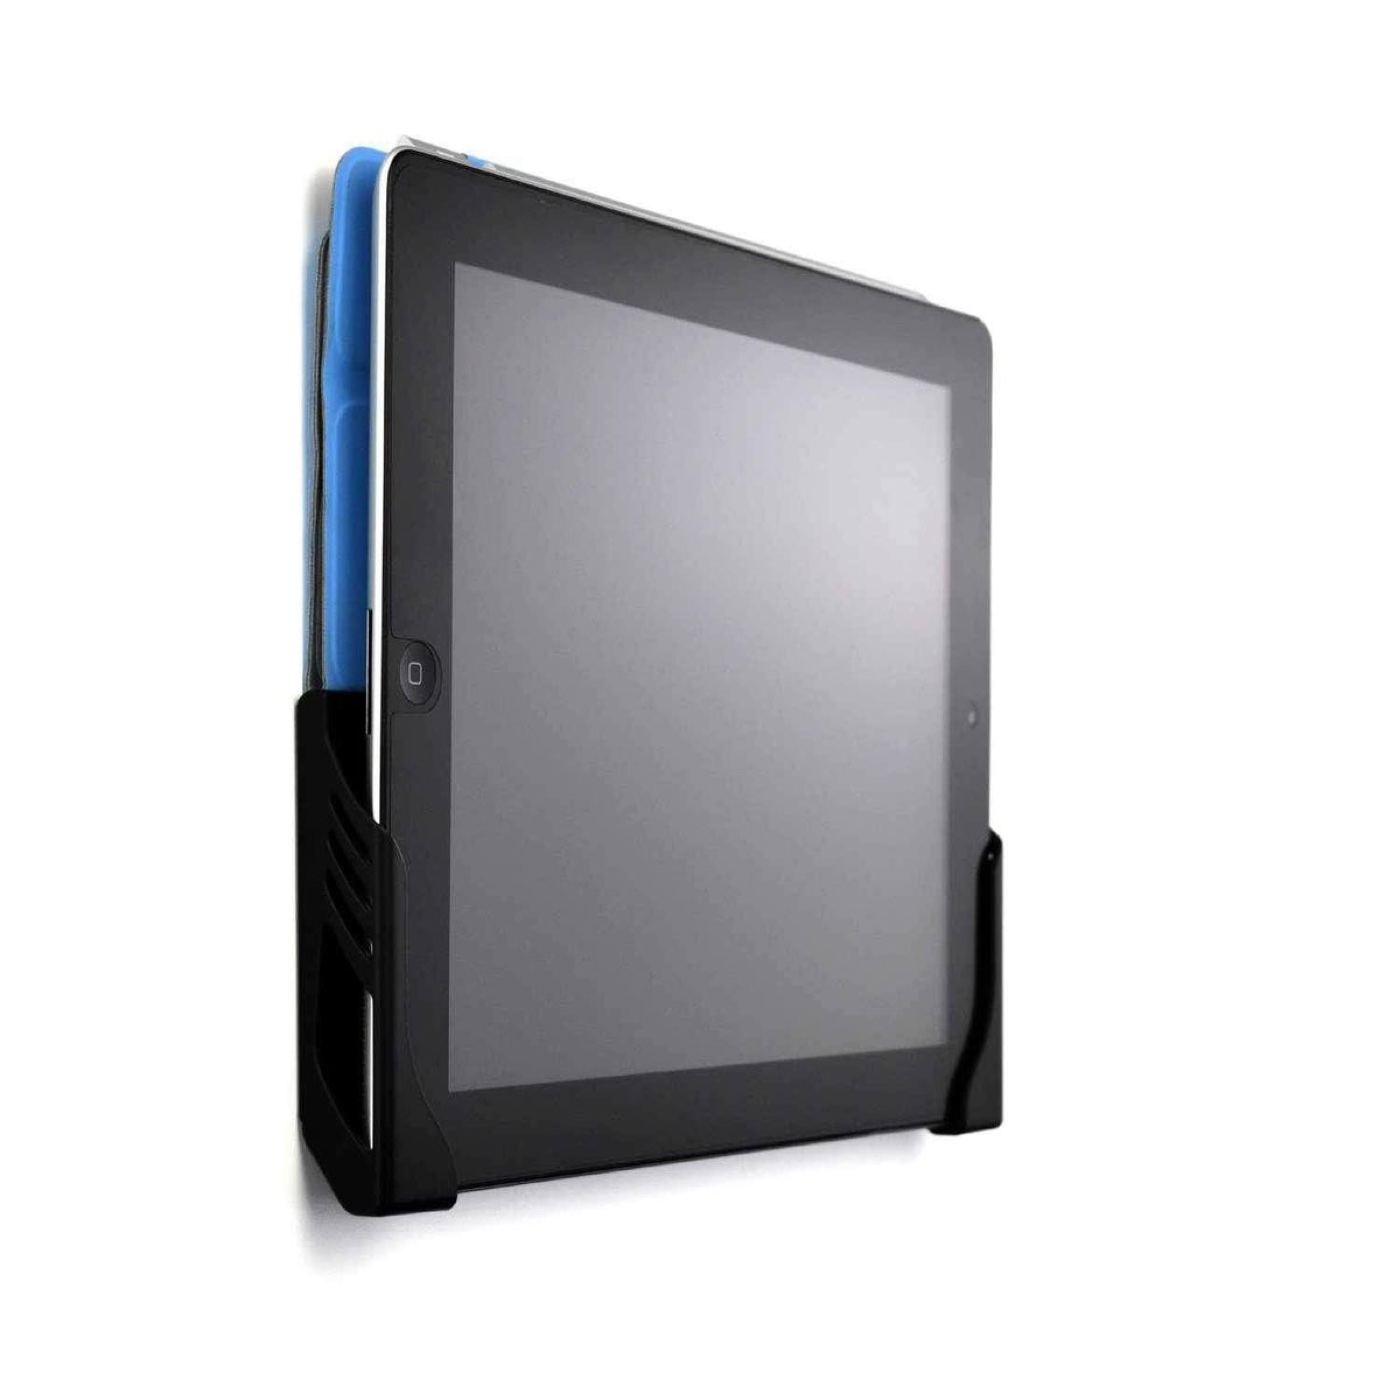 Official product, compatibility, and manual sources checked
 Dockem
Simple bracket-style wall mount for compatible tablets used as DIY calendar dashboards.
ASIN B00JV75FC6 · source checked 2026-08-10
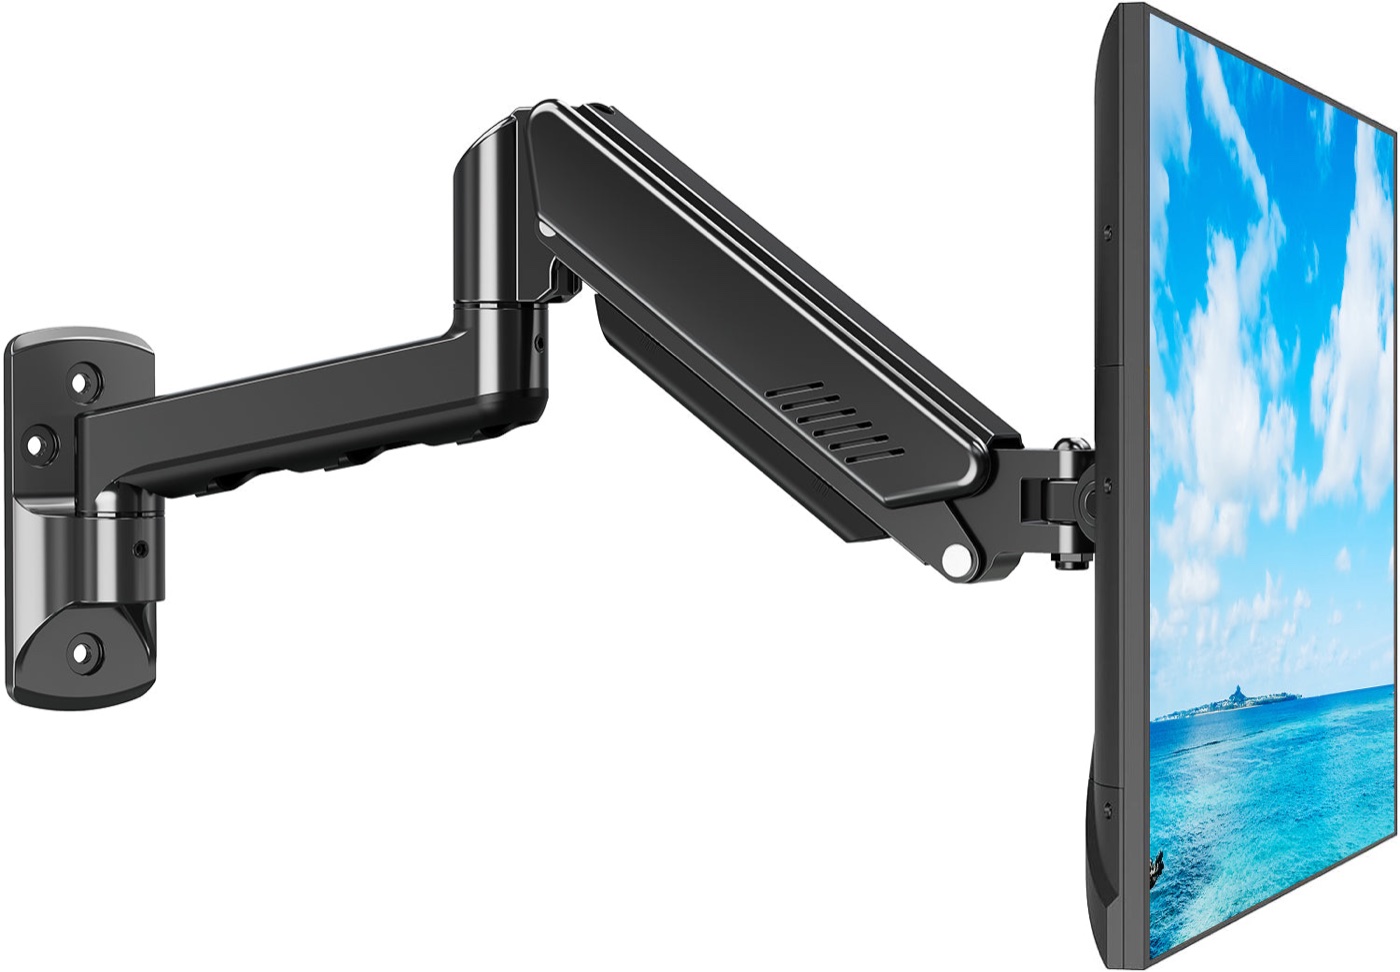 Exact-ASIN manual source + current official family source checked
 MOUNT PRO
Adjustable wall arm for displays that explicitly support VESA 75x75 or 100x100 mounting.
ASIN B08SM5X4HW · source checked 2026-08-10
Stop signs
Related research
Sources
Common questions
No. A tablet mount must match the device dimensions, thickness, weight, ports, and edge shape. Dedicated smart calendar frames may use proprietary mounting plates and should follow their own instructions.
No. Screen size is only a diagonal display measurement. The mount still needs the full device dimensions, weight, mounting interface, and port clearance.
Only when the display has a matching VESA pattern and falls within the mount weight range. Never infer VESA support from the screen size.
A flush mount looks quieter and reduces movement, while an adjustable arm can improve viewing angle and access. Repeated touch input, cable slack, and room traffic should decide.